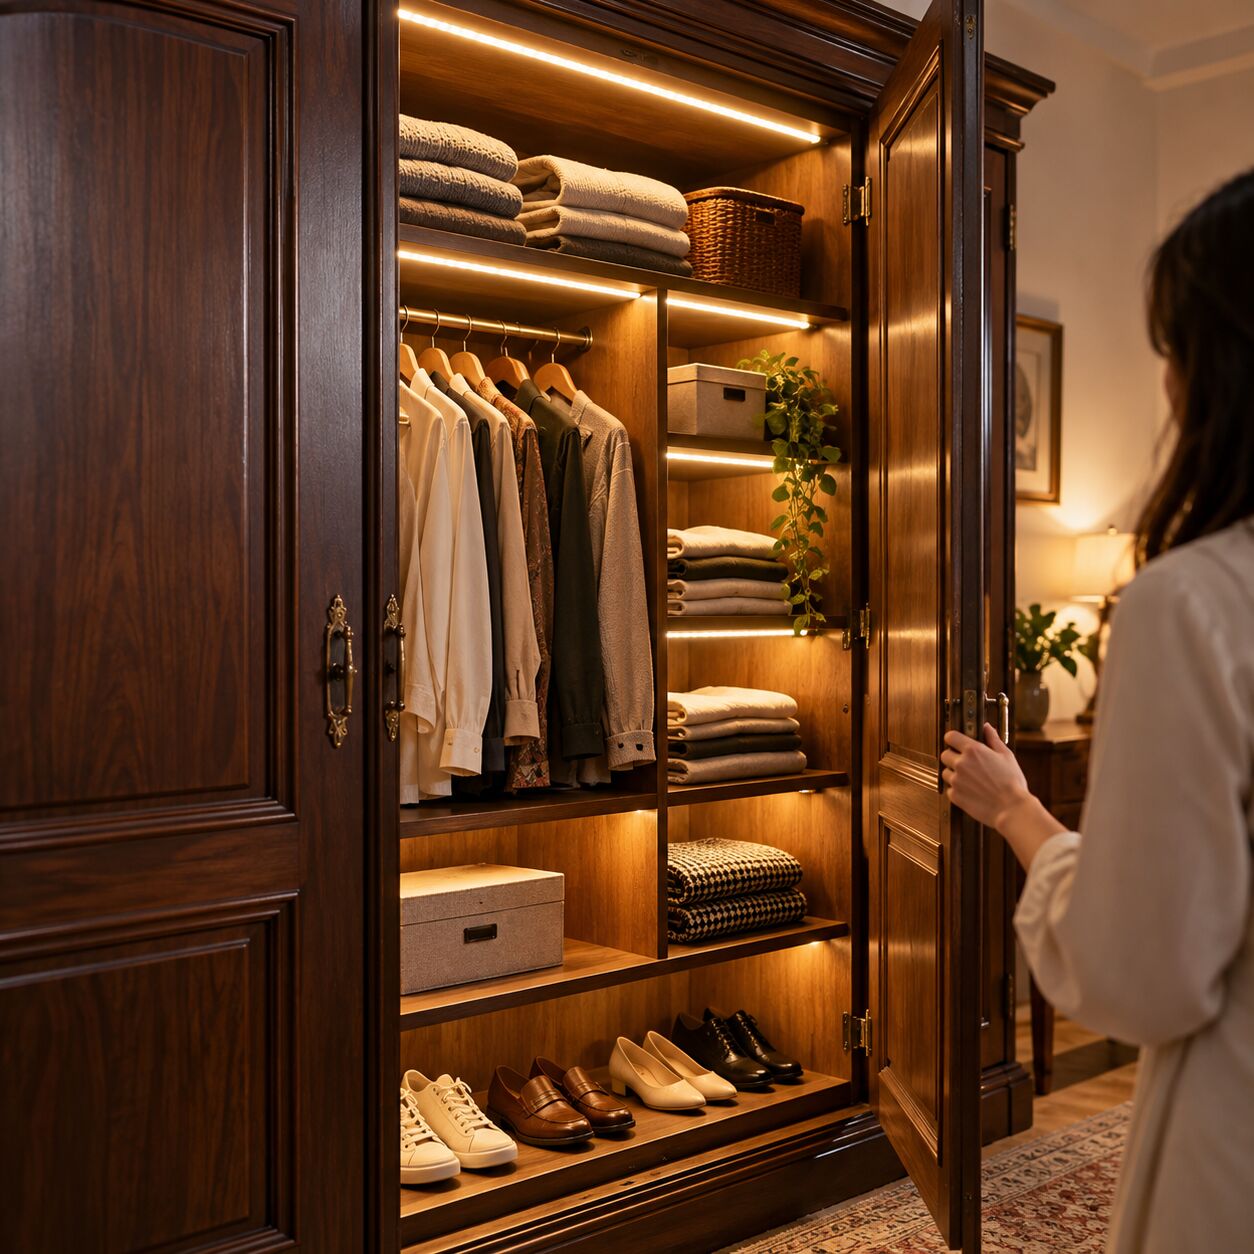
Product Overview
(i) Esysense Surface-Mount & Recessed IR Proximity Sensors: Versatile 12V–24V DC optical switches (such as the ESY-M22 and ESY-M23) ideal for retrofitting hinged cabinet doors using clip brackets or subtle 10mm drill holes.
(ii) Esysense Wireless PIR Wardrobe Motion Sensors: Thermal movement detectors engineered for retrofitting sliding doors, walk-in closets, and open clothes racks where physical shutter contact is unavailable.
(iii) Esysense ESY-TC36 Direct AC Door Switch: Heavy-duty mechanical plunger switch allowing retrofits directly into existing 110V–270V AC electrical lines without requiring extra LED drivers.
(iv) Surface-Mounted Ultra-Slim LED Channels: Slim adhesive-backed or clip-on aluminum channels housing flexible LED strips that attach beneath existing wooden shelves.
How to Add Sensor Lighting to an Existing Wardrobe
Upgrading an older, unlit bedroom wardrobe does not require hiring remodeling teams or replacing expensive cabinet doors. With modern retrofit components, adding automatic illumination into finished woodwork takes less than an hour.
1. Choosing Between IR Proximity and Motion Sensors
Selecting the right sensor for an existing wardrobe depends on shutter construction:
(i) For Hinged Doors: A proximity-based wardrobe sensor switch is ideal. Mount the small sensor head along the front lip of the cabinet frame facing the shutter. Opening the shutter clears the 5 cm infrared path, turning the lights ON instantly.
(ii) For Sliding Doors and Open Racks: A thermal wardrobe motion sensor works best. Because sliding panels overlap without swinging outward, a PIR motion sensor detects physical body heat movement as you slide the door open or step up to an open dressing bay.
2. Selecting Your Power Strategy for Retrofits
(i) Plug-and-Play DC Power Adapter: Run a thin low-voltage cable out through a small hole in the back
or top panel of the wardrobe and plug a 12V/24V DC desktop driver into a nearby wall socket.
(ii) Direct Mains Electrical Wiring: If you have existing electrical wires running near the closet, connect a direct AC mechanical wardrobe sensor switch directly into the circuit.
3. Drill-Free Mounting Options
For finished woodwork where you want to avoid permanent drilling, use surface-mounting hardware:
(i) Adhesive-Backed LED Extrusions: Stick ultra-thin aluminum LED profiles underneath top shelves or clothing hanging rails using heavy-duty 3M foam tape.
(ii) Surface Clip Sensor Brackets: Snap sensor probes into small surface brackets mounted with small screws or adhesive pads along inner frame corners.
Sensor Switch vs. Motion Sensor Comparison for Retrofitting
Wardrobe Sensor Switch (IR Proximity):
(i) Activation Trigger: Active infrared beam breaks when door panel moves away beyond 5 cm.
(ii) Best Shutter Compatibility: Standard hinged wardrobe doors, single cupboards, and pull-out drawers.
(iii) Installation Method: Surface-mount clip brackets or single 10mm frame drill holes.
(iv) Power Consumption: Extremely efficient; lights shut off immediately when the shutter panel closes within 5 cm.
Wardrobe Motion Sensor (PIR Thermal):
(i) Activation Trigger: Passive infrared detects thermal movement across an open cabinet zone.
(ii) Best Shutter Compatibility: Sliding doors, glass wardrobes, and open walk-in clothing bays.
(iii) Installation Method: Surface magnetic brackets or adhesive pads mounted on top interior corners.
(iv) Power Consumption: Timed shutoff delay (e.g., turns OFF 30–60 seconds after movement stops).
Step-by-Step Retrofit Installation Guide
Adding a wardrobe sensor switch to an existing closet involves five simple steps:
(i) Plan Your Wire Route: Identify a back corner or top carcass gap to pass thin low-voltage wires out toward your power supply.
(ii) Mount the LED Light Strip: Clean the underside of existing wooden shelves with rubbing alcohol, apply adhesive-backed aluminum channels, and press them firmly into position.
(iii) Position the Wardrobe Sensor Switch: Attach the IR proximity sensor head to the cabinet frame lip where the shutter sits within 5 cm when fully closed.
(iv) Connect Cable Harnesses: Connect the sensor, LED light strips, and 12V DC power driver using simple plug-and-play quick-connect cables.
(v) Test and Secure: Plug in power, open the wardrobe door to verify instant illumination, and hide loose wiring using small adhesive cable clips.
People Also Ask
Q: Can I retrofit a wardrobe sensor switch without drilling into existing shelves?
A: Yes. You can use surface-mount brackets and adhesive-backed aluminum LED channels to secure both the wardrobe sensor switch and light profiles without drilling holes into existing wood.
Q: What is the best power source when retrofitting a wardrobe motion sensor?
A: A low-voltage 12V DC power transformer plugged into a nearby wall outlet offers continuous power, high light brightness, and zero battery recharging maintenance.
Q: Does a retrofitted wardrobe sensor light work on dark interior laminates?
A: Yes. Active IR proximity sensors measure distance within a calibrated 5 cm range, operating reliably regardless of wood laminate color or reflective finishes.
Frequently Asked Questions (FAQ)
Q: How long does it take to retrofit a wardrobe sensor switch?
A: A basic surface-mount retrofit kit using plug-and-play low-voltage cables and adhesive LED profiles can be installed in under 45 minutes.
Q: What is the difference between an IR sensor switch and a wardrobe motion sensor for retrofits?
A: An IR proximity switch monitors shutter distance (5 cm range) to trigger lights strictly when a door opens. A PIR motion sensor detects thermal movement, making it better for sliding doors and open walk-in closets.
Q: Can I run multiple LED channels off a single retrofitted sensor switch?
A: Yes, provided the combined wattage of all LED strips does not exceed the maximum output rating of your sensor switch and 12V DC driver.
Q: Will a surface-mounted wardrobe sensor switch interfere with door closure?
A: No. Retrofit sensor probes feature ultra-compact designs (10 mm to 12 mm) that sit flush along cabinet corners without blocking door closure.
Q: Where can I buy retrofittable wardrobe sensor switches and LED accessories?
A: You can purchase IR proximity switches, motion sensors, and low-voltage accessories directly at the Esysense Wardrobe & Cabinet Sensor Lighting.
Recommended Resources & Next Steps
Ready to upgrade your existing closets with smart, automated lighting? Explore single and dual-probe IR proximity switches, motion modules, and slim profile accessories at the official Esysense Wardrobe & Cabinet Sensor Lighting.
Written from direct pro