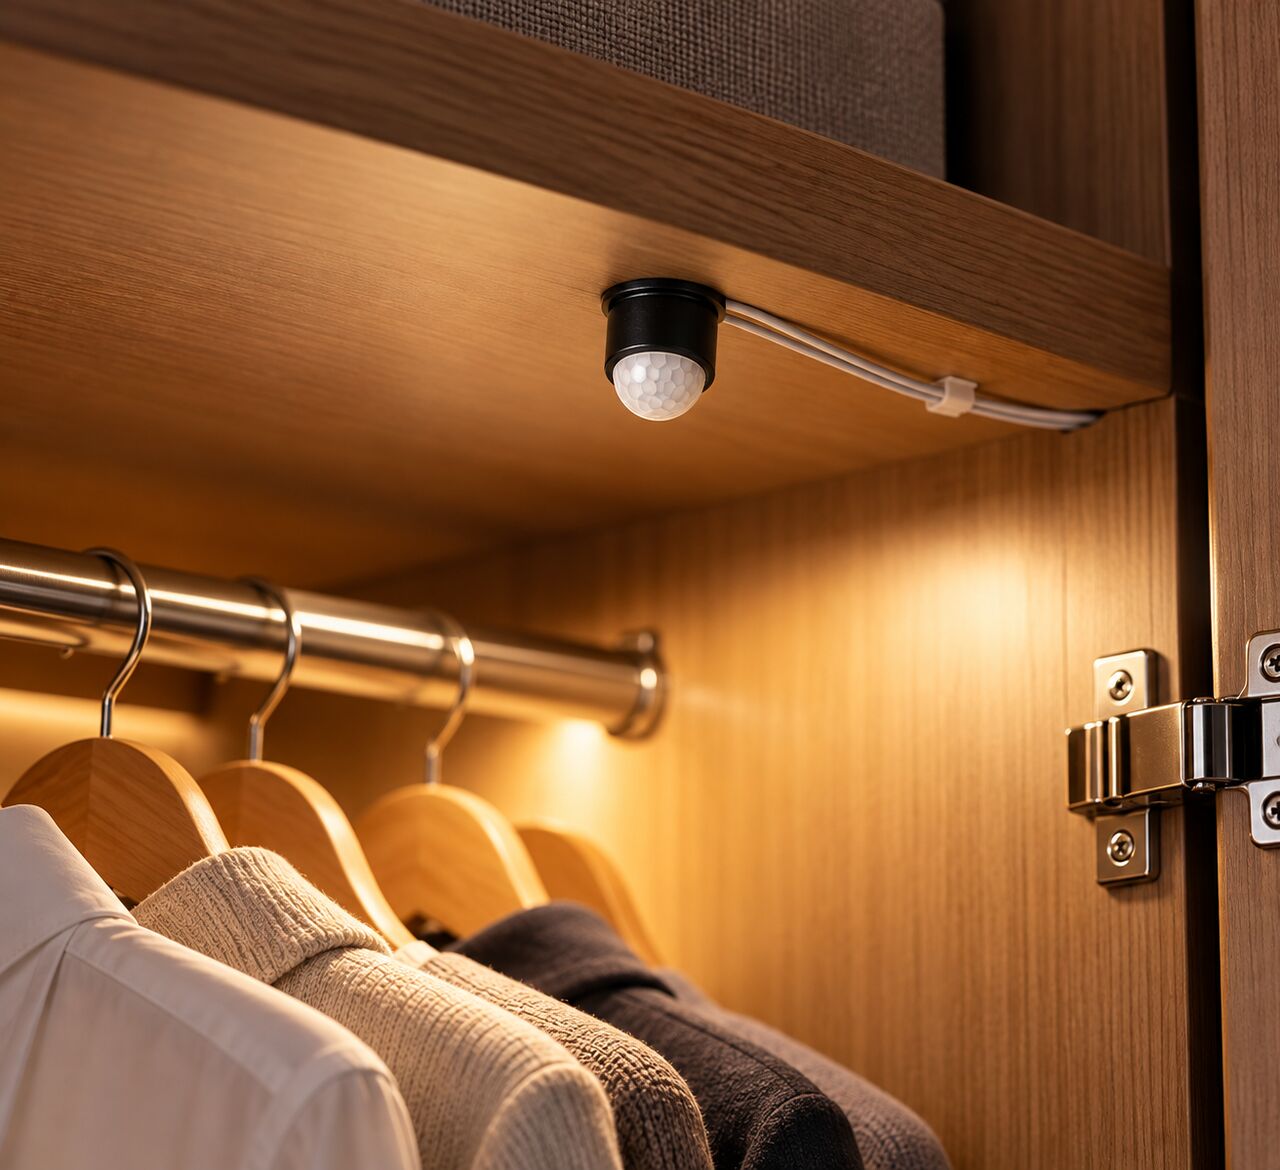
Quick Recommendation
(i) Best for standard single-hinge wardrobe doors & drawers: Single Door Cabinet IR Sensor — Breaks the light circuit when the door is closed within 5 cm, energizing 12V/24V LED strip lights immediately upon opening.
(ii) Best for double-door closets & bi-fold sliding wardrobe systems: Double Door Cabinet IR Sensor — Features dual IR optical heads so opening either door activates the cabinet lighting circuit.
(iii) Best for modular cabinets, internal drawers & quick mechanical retrofits: Push-Type Mechanical Wardrobe Sensor Switch — Spring-loaded physical trigger switch mounting directly into cabinet frames for direct cut-in/cut-out control.
(iv) Explore the complete cabinet & wardrobe sensor collection: Compare models, wiring specs, and order directly from the official Esysense Wardrobe & Cabinet Sensors Lighting.
Product Overview
Automatic wardrobe lighting control systems integrate infrared proximity sensors, micro-switch triggers, low-voltage power supplies, and LED strip lights inside modular furniture frames.
(i) What it is: A comprehensive technical wiring and installation guide for executing a safe, reliable wardrobe sensor light connection across single, double, and sliding cabinet doors.
(ii) What it does: Automatically completes the low-voltage or line-voltage electrical circuit when closet doors open, delivering instant interior visibility, and breaks the circuit when doors are shut.
(iii) Who it is intended for: Interior designers, modular kitchen manufacturers, carpenters, electrical contractors, and DIY homeowners.
(iv) Primary features: IR reflective distance sensing (1 to 5 cm range), dual-sensor head capability for double doors, mechanical plunger switches, low-voltage (12V/24V DC) and line-voltage (110V–240V AC) inline integration, and compact concealed mounting options.
(v) Key specifications: Input Voltage: 12V/24V DC or 100V–240V AC; Max Load Capacity: 36W to 60W (12V) / up to 200W (AC); Detection Range: 1–5 cm IR proximity; Operating Temperature: -10°C to +50°C; Mounting Options: Surface screw or recessed drill-hole fitting.
(vi) Main use cases: Bedroom wardrobes, kitchen modular cabinets, crockery units, walk-in closets, vanity drawers, and office storage lockers.
(vii) Important limitations: IR proximity sensors require clean optical clearance from door surfaces (1–5 cm) and must not be blocked by internal clothes hangers or dust buildup.
Why This Matters
Fumbling in dark closets or accidentally leaving concealed cabinet lights running behind closed doors wastes electricity and degrades LED lifespan. Establishing a proper wardrobe light wiring scheme ensures lights remain active only when wardrobe doors are physically open, transforming functional storage into a modern, energy-efficient architectural feature.
How Wardrobe Sensor Light Connections Work
Understanding a sensor light connection inside cabinet furniture depends on the underlying sensor technology selected:
1. IR Proximity Reflection Mechanics (Door-Closed = Light OFF)
In an IR proximity wardrobe switch, the optical sensor head constantly emits an invisible infrared beam:
Door Closed State: The cabinet door sits within 1 to 5 cm of the sensor head. Infrared light bounces off the door face back to the receiver, signaling the internal switch to keep the circuit OPEN (OFF).
Door Opened State: As the door swings or slides open, the reflective surface drops away. The loss of IR bounce signals the controller to close the circuit, delivering 12V/24V DC power to the LED strip lights (ON).
2. Double-Door Dual-Head Logic
For two-door cabinets, two IR sensor heads connect in parallel or series to a single control box. If either door opens, the loss of reflection on that specific head triggers the switch to energize the shared LED strip.
3. Circuit Topology (Inline Low-Voltage Wiring)
The standard wardrobe light wiring sequence follows a clear inline path from main power to LED fixtures:
Main Decision Factors: Choosing Wardrobe Sensor Wiring Options
1. Door Configuration: Single Door vs. Double / Sliding Doors
What to look for: Identify whether your cabinet features a single hinged door, adjacent double doors, or overlapping sliding panels.
Why it matters: Single hinged doors need only one IR sensor head or mechanical plunger switch. Double swing doors or sliding wardrobes require dual-head IR sensors or multi-switch connections so opening any panel activates the interior lights.
Practical recommendation: Select single-head IR switches for standard wardrobes; specify double-head IR proximity units for two-door closets available in the Esysense Wardrobe & Cabinet Sensors Lighting.
2. Switching Location: Low-Voltage (12V DC) vs. High-Voltage (230V AC)
What to look for: Determine if the sensor switch will sit before or after the LED driver transformer.
Why it matters: Wiring the sensor on the low-voltage 12V DC side (between SMPS driver and LED strip) is safer, uses ultra-thin wiring, and fits inside tight cabinet grooves. Wiring on the 230V AC side (before the driver) cuts standby power to the transformer entirely when the door is closed.
Practical recommendation: Use 12V DC inline IR sensors for clean, safe modular furniture grooves; use 230V AC inline sensor switches when powering multiple large transformers in walk-in closets.
3. Sensor Form Factor: Surface-Mount vs. Concealed Recessed
What to look for: Match the sensor body design to your carpentry style.
Why it matters: Surface-mounted IR sensors screw directly onto interior side panels with minimal tools. Recessed IR sensors fit flush into a drilled 10mm–12mm hole inside the cabinet frame for a factory-fitted look.
Practical recommendation: Choose recessed IR sensors during new modular furniture fabrication; choose surface-mount units for quick retrofits on existing wooden wardrobes.
Technical Specification Comparison
1. Single Door Cabinet IR Sensor Switch
Trigger Mechanism: IR Proximity Reflection (1–5 cm range).
Operating Voltage: 12V / 24V DC.
Max Load Rating: 36W (12V) / 72W (24V).
Sensor Heads: Single optical IR head.
Mounting Style: Surface Screw Mount or Recessed Drill-Fit.
Best Application: Single hinged wardrobe doors, kitchen overhead cabinets, and vanity drawers.
2. Double Door Cabinet IR Sensor Switch
Trigger Mechanism: Dual-Head IR Proximity Reflection.
Operating Voltage: 12V / 24V DC.
Max Load Rating: 60W (12V) / 120W (24V).
Sensor Heads: Dual connected optical IR heads.